By James Michael17 Jun, 202521 mins read 2,386 views
0 comments 0 likes
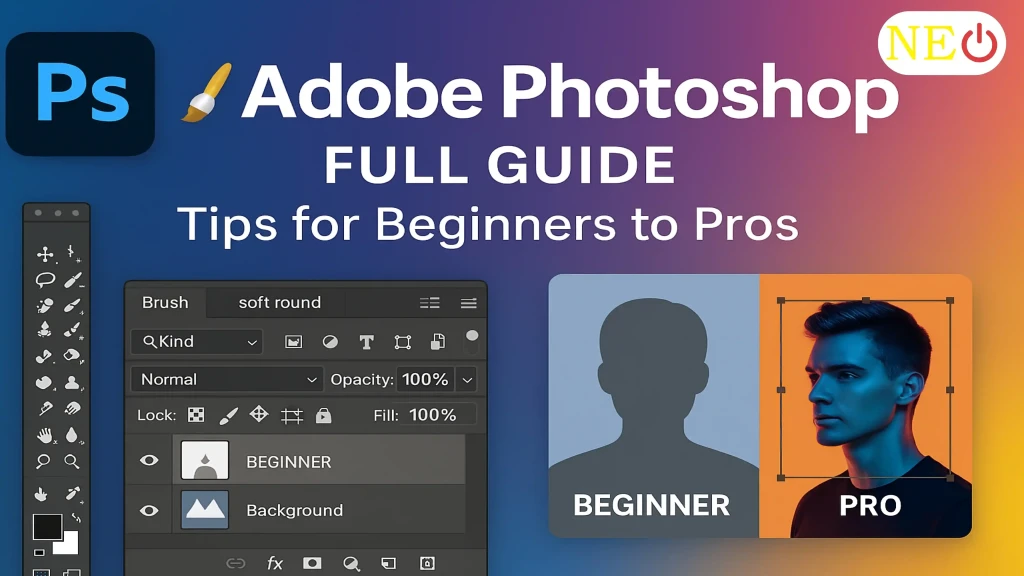
Adobe Photoshop stands as the gold standard in image editing and graphic design. From casual photo fixes to professional digital art and marketing graphics, Photoshop offers powerful tools that cater to every creative level. Whether you're just starting or looking to sharpen your pro skills, this full guide will walk you through everything you need to know.
Photoshop’s interface might look overwhelming at first, but here’s a quick breakdown:
Menu Bar: At the top, includes options like File, Edit, Image, Layer, etc.
Toolbox (Toolbar): Located on the left, contains all essential tools (Move, Brush, Eraser, etc.).
Options Bar: Just below the Menu Bar, it changes depending on the selected tool.
Panels: On the right, you’ll find layers, adjustments, color swatches, and more.
👉 Tip: Go to Window > Workspace > Essentials (Default) to reset your workspace anytime.
2. Creating a New Project
Go to File > New.
Set your canvas size, resolution (300 dpi for print, 72 dpi for web), and color mode (RGB for digital, CMYK for print).
Hit Create to begin your masterpiece.
Essential Tools and Their Uses
Tool
Shortcut
Function
Move Tool
V
Move elements on the canvas
Marquee Tool
M
Make rectangular/elliptical selections
Lasso Tool
L
Freehand selections
Brush Tool
B
Paints with selected brush
Clone Stamp
S
Duplicate areas of the image
Eraser Tool
E
Erases parts of a layer
Type Tool
T
Add and edit text
Zoom Tool
Z
Zoom in and out of the canvas
👉 Tip: Press and hold Shift while using selection tools to constrain proportions or add to selection.
Layers and Adjustments
1. Layers Are Everything
Each image or object sits on its own layer.
Use the Layers Panel to control visibility, opacity, and blending.
Use Layer Masks to hide or reveal parts of a layer without deleting.
2. Adjustment Layers
Non-destructive edits for brightness, contrast, hue/saturation, and more.
Found under Layer > New Adjustment Layer.
👉 Tip: Use clipping masks (Alt + click between layers) to apply adjustments to specific layers only.
Tips for Beginners
Use Keyboard Shortcuts: Speeds up your workflow dramatically.
Save Often: Use Ctrl+S (Windows) or Cmd+S (Mac).
Work with High-Quality Images: Avoid pixelation when resizing.
Practice Non-Destructive Editing: Use masks, smart objects, and adjustment layers.
Tips for Advanced Users
1. Smart Objects
Convert layers into smart objects for scalable and non-destructive edits. Right-click a layer and choose Convert to Smart Object.
2. Custom Brushes and Presets
Download or create your own brushes for unique textures. Save your presets for consistent branding.
3. Actions and Automation
Automate repetitive tasks with Actions. Go to Window > Actions to record and run your tasks with one click.
4. Use Blending Modes Creatively
Layer blending modes (like Multiply, Screen, Overlay) can add dramatic effects to photos and compositions.
Real-World Applications
Photo Retouching: Remove blemishes, whiten teeth, or swap backgrounds.
Graphic Design: Posters, flyers, social media content.
Digital Painting: Create illustrations and concept art with tablet support.
Web & UI Design: Design layouts, buttons, and assets.
Final Thoughts
Whether you're adjusting family vacation photos or designing for a major brand, Photoshop is your creative ally. The key is to start small, build your skills steadily, and not be afraid to experiment. With practice and patience, you'll transform from a beginner to a Photoshop pro.
Adventure photography isn’t just about snapping pictures—it’s about telling the story of your journey. Whether hiking, trekking, or camping, capture epic shots by traveling light, using natural light, experimenting with angles, and embracing weather changes. Stay safe, focus on composition, and let your camera reflect the true spirit of your adventure.
Career growth isn’t just about hard work—it’s about smart strategies. From self-marketing and building soft skills to networking, mentorship, and continuous learning, these underrated hacks can fast-track your success. Discover how small, strategic moves can make a big difference and help you stand out in today’s competitive world.
Performing daily Ganesh Aarti at home brings peace and positivity. Start by setting up a clean, decorated space for Lord Ganesha, prepare an aarti thali with diya, flowers, and incense, and maintain a fixed time for prayer. Sing the Ganesh Aarti with devotion, offer sweets like modaks as prasad, and involve family members to create a divine and joyful atmosphere.